Mastering the Art of Gluten-Free Sourdough Bread: A Guide to Creating the Perfect Starter
Are you a gluten-free foodie who longs for the tangy, satisfying taste of freshly baked sourdough bread? Look no further! In this comprehensive guide, we’ll show you how to master the art of gluten-free sourdough bread and create a starter that’ll make your taste buds sing.
Gluten-free baking can be a challenge, but with the right techniques and ingredients, you can achieve that delightful, airy texture and complex flavor found in traditional sourdough. Whether you’re a seasoned sourdough baker or just starting your gluten-free baking journey, this guide will provide you with step-by-step instructions, insider tips, and troubleshooting advice to ensure your success.
We’ll dive into the science behind sourdough, explore gluten-free flour options, and demystify the process of creating and maintaining a gluten-free sourdough starter. From measuring ingredients to perfecting your mixing and kneading techniques, you’ll learn the secrets to achieving that coveted crusty crust and tender crumb.
Join us on this delicious and gluten-free adventure as we uncover the secrets to creating the perfect gluten-free sourdough starter and transforming it into mouthwatering loaves of bread. Get ready to impress your friends and family with your gluten-free baking prowess!
Table of Contents
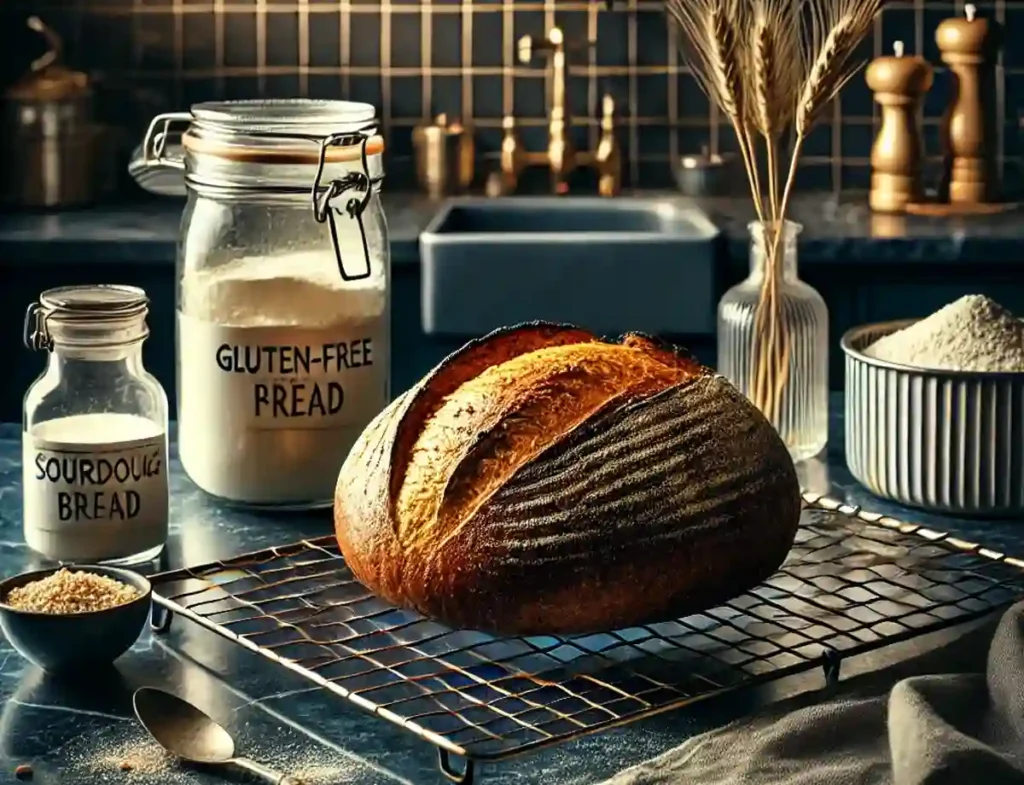
What is sourdough bread and why is it gluten-free?
Sourdough bread is a type of fermented bread that has been around for centuries. Unlike commercial yeast breads, sourdough bread is made using a natural leavening agent called a sourdough starter. This starter is a mixture of flour and water that has been fermented over time, allowing wild yeast and beneficial bacteria to thrive. The result is a bread with a unique tangy flavor and a chewy, airy texture.
The reason sourdough bread is considered gluten-free is that the fermentation process helps to break down the gluten proteins in the flour. Gluten is a complex protein found in wheat, rye, and barley, and it can be difficult for some people to digest. However, the lactic acid and enzymes produced during the sourdough fermentation process help to pre-digest the gluten, making it more easily digestible for those with gluten sensitivities or intolerances.
It’s important to note that while sourdough bread is generally more tolerable for those with gluten sensitivities, it is not entirely gluten-free. The level of gluten in sourdough bread can vary depending on the type of flour used and the length of fermentation. For individuals with celiac disease or a severe gluten allergy, it’s best to consult with a healthcare professional before consuming sourdough bread.
The benefits of making gluten-free sourdough bread
Making gluten-free sourdough bread offers a range of benefits that go beyond just being more digestible. One of the primary advantages is the enhanced nutritional profile. The fermentation process increases the bioavailability of nutrients, making the bread more nutrient-dense. This includes higher levels of B vitamins, minerals, and antioxidants, which can provide a boost to your overall health.
Another significant benefit of gluten-free sourdough bread is its improved shelf life. The natural preservatives produced during fermentation help to prevent mold and extend the bread’s freshness, allowing you to enjoy it for longer without the need for artificial preservatives. This not only ensures a better taste and texture but also reduces food waste.
Gluten-free sourdough bread also boasts a lower glycemic index compared to traditional gluten-free breads. The slow-release carbohydrates and increased fiber content help to regulate blood sugar levels, making it a more suitable option for individuals with diabetes or those following a low-glycemic diet.
Furthermore, the act of baking your own gluten-free sourdough bread can be a rewarding and therapeutic experience. The process of creating and nurturing your own sourdough starter, as well as the satisfaction of producing a delicious, homemade loaf, can be a source of pride and enjoyment. It’s a hands-on activity that allows you to connect with the ancient art of bread-making and take control of your dietary needs.
Understanding the sourdough starter
At the heart of gluten-free sourdough bread is the sourdough starter, a living culture of wild yeast and beneficial bacteria. This starter is the key to achieving the signature tangy flavor and chewy texture that sets sourdough apart from other bread varieties.
The sourdough starter is essentially a fermented mixture of flour and water that has been left to develop over time. As the starter matures, the yeast and bacteria present in the mixture begin to consume the carbohydrates in the flour, producing lactic acid and carbon dioxide as byproducts. This fermentation process not only gives sourdough its unique flavor but also helps to break down the gluten proteins, making the bread more digestible.
The specific composition of the sourdough starter can vary depending on the type of flour used, the temperature and humidity of the environment, and the frequency of feeding. Some starters may be more active and bubbly, while others may be more dense and sour. Experimenting with different flour blends and feeding schedules can help you find the perfect balance for your gluten-free sourdough bread.
Maintaining a healthy and active sourdough starter is crucial for successful gluten-free baking. This means regularly feeding the starter with fresh flour and water, and ensuring it is stored in a clean, temperature-controlled environment. With the right care and attention, your sourdough starter can become a valuable, long-lasting asset in your gluten-free baking arsenal.
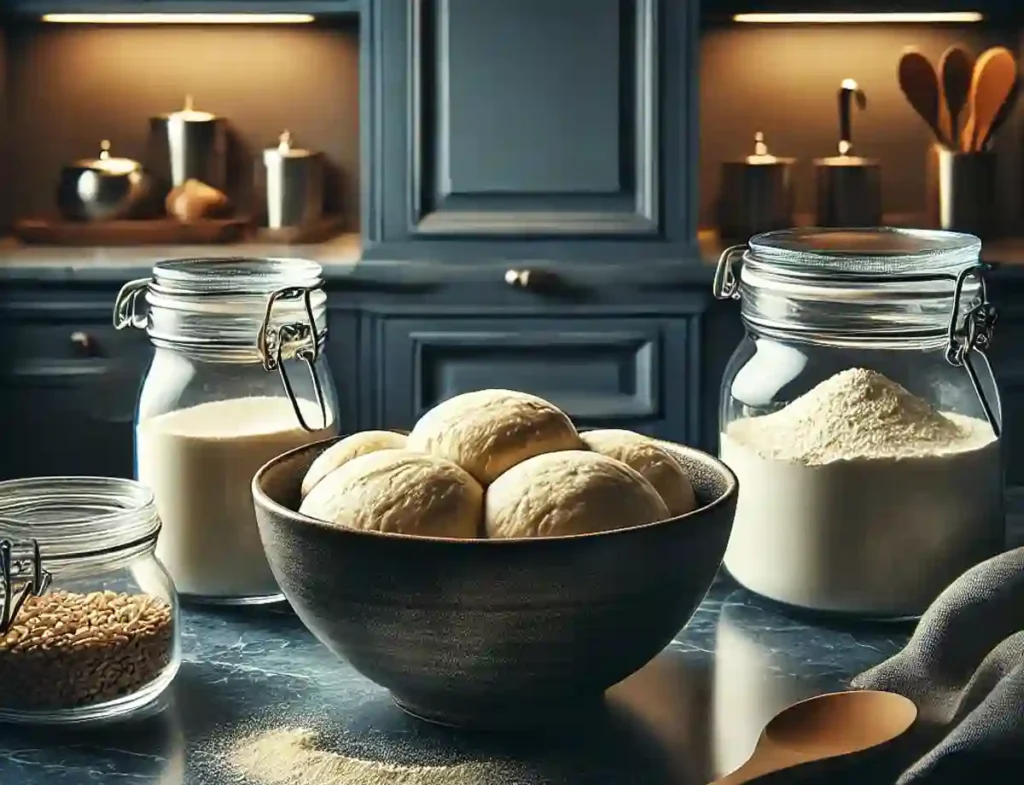
Creating your gluten-free sourdough starter
Starting your own gluten-free sourdough starter may seem daunting, but with a little patience and persistence, you can create a thriving culture that will serve as the foundation for your delicious gluten-free bread. Here’s a step-by-step guide to getting your starter off the ground:
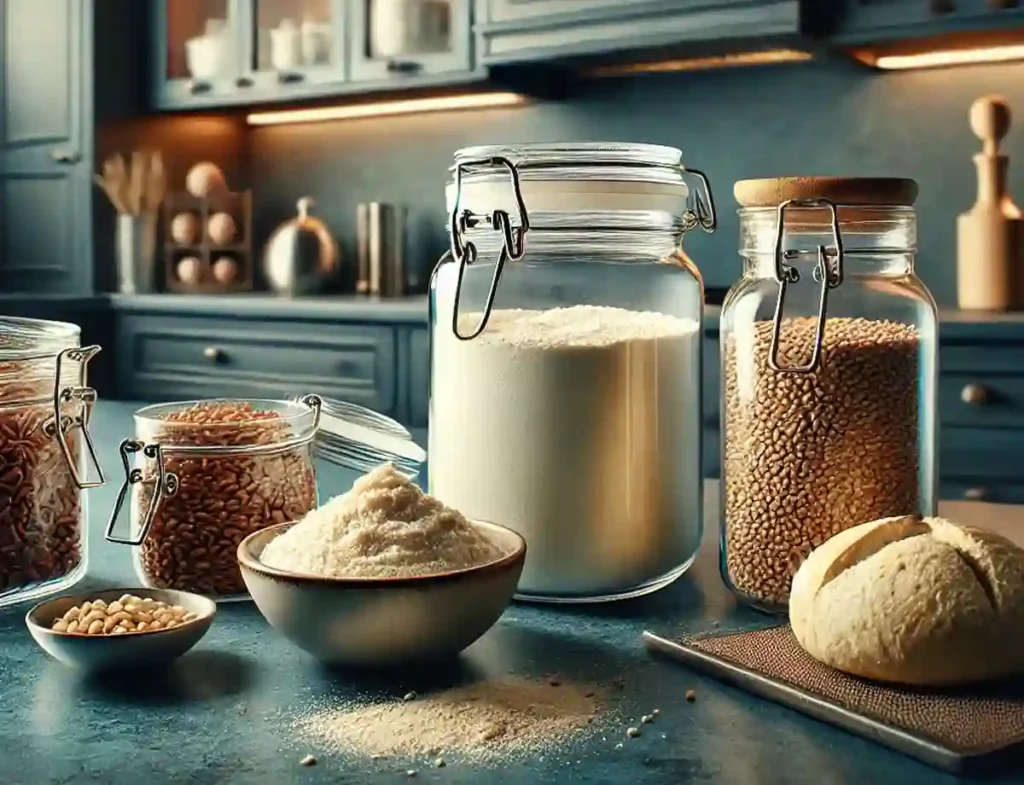
Gather your ingredients: You’ll need gluten-free flour (such as brown rice flour, sorghum flour, or a blend of gluten-free flours), filtered water, and a clean jar or container to house your starter.
- Gather your ingredients: You’ll need gluten-free flour (such as brown rice flour, sorghum flour, or a blend of gluten-free flours), filtered water, and a clean jar or container to house your starter.
- Begin the initial feeding: In your container, mix together equal parts gluten-free flour and water (e.g., 50 grams of flour and 50 grams of water). Stir the mixture well to incorporate any lumps, and cover the container loosely with a lid or cloth.
- Allow the starter to ferment: Place the container in a warm, draft-free spot and let it sit for 24 hours. During this time, the wild yeast and bacteria will begin to activate and multiply.
- Discard and feed: After 24 hours, discard about half of the starter and feed the remaining portion with an equal amount of fresh flour and water. Repeat this process daily for the first 7-10 days, discarding and feeding the starter at the same time each day.
- Monitor the growth: As the starter matures, you’ll start to see signs of activity, such as bubbles forming on the surface and a slight rise in the volume of the mixture. The starter may also develop a slightly sour aroma.
- Adjust the feeding schedule: Once the starter becomes more active and consistent, you can begin to adjust the feeding schedule to suit your baking needs. Many bakers find that feeding the starter twice a day or every 12 hours produces the best results.
- Be patient and persistent: Creating a gluten-free sourdough starter can take time and effort, but with consistent care and attention, your starter will develop and become a reliable leavening agent for your bread.
Remember, the key to a successful gluten-free sourdough starter is to experiment and find the right balance of ingredients and feeding schedule that works best for your specific environment and baking preferences.
Feeding and maintaining your sourdough starter
Maintaining a healthy and active gluten-free sourdough starter is essential for consistently producing delicious, well-risen bread. Proper feeding and storage techniques will ensure your starter remains strong and reliable over time.
The feeding process involves replenishing the starter with fresh flour and water, which provides the necessary nutrients for the yeast and bacteria to thrive. The frequency of feeding will depend on how often you plan to bake with your starter, as well as the temperature of your environment.
As a general rule, if you bake with your starter regularly (at least once a week), you can keep it at room temperature and feed it daily or every other day. If you don’t bake as frequently, you can store the starter in the refrigerator and feed it once a week.
When feeding your starter, use a clean jar or container and follow these steps:
- Discard a portion of the existing starter, typically half or more, leaving behind just enough to continue the culture.
- Add an equal amount of fresh gluten-free flour and filtered water to the remaining starter. For example, if you have 50 grams of starter, add 50 grams of flour and 50 grams of water.
- Stir the mixture thoroughly to incorporate any lumps, and make sure the new flour is fully hydrated.
- Cover the container loosely and allow the starter to ferment at room temperature for 8-12 hours, or until it has doubled in volume and is bubbly and active.
It’s important to pay attention to the appearance and behavior of your starter, as this will indicate when it’s time to feed it again. A healthy, active starter should be bubbly, airy, and have a slightly sour aroma.
If you notice your starter becoming sluggish, with fewer bubbles or a more dense, flat appearance, it’s likely time to feed it again. Consistent, regular feeding is the key to maintaining a strong, reliable gluten-free sourdough starter.
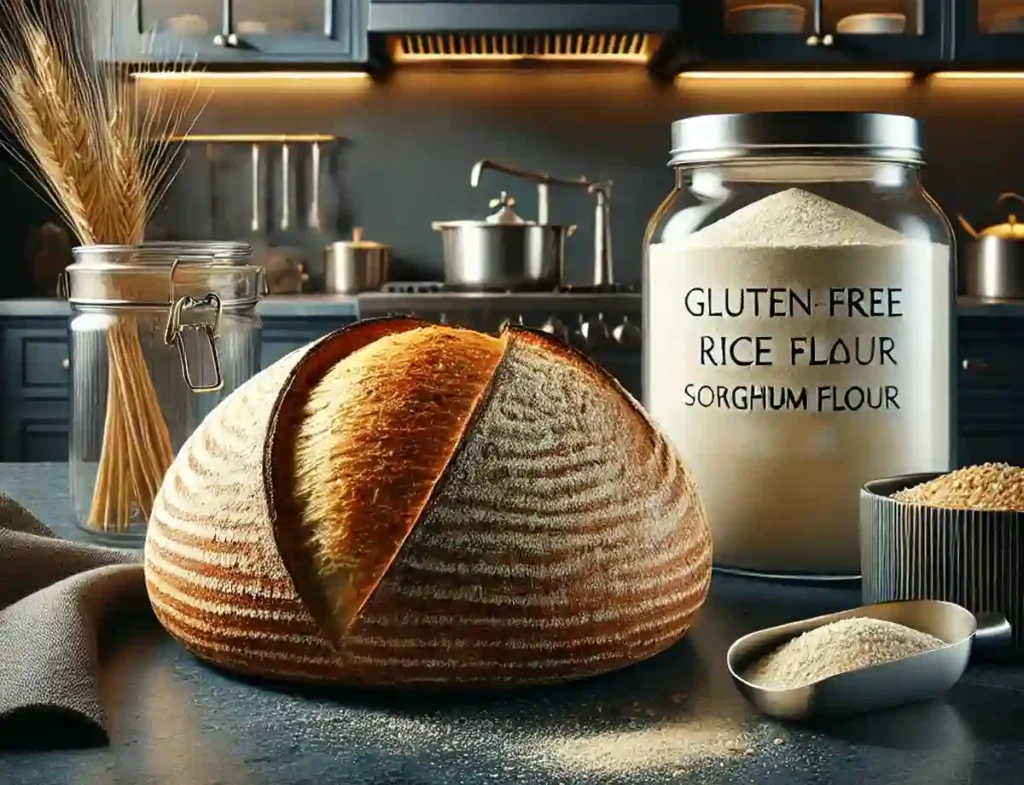
The role of flour in gluten-free sourdough bread
When it comes to gluten-free sourdough bread, the choice of flour plays a crucial role in the final texture, flavor, and overall success of your loaf. Unlike traditional wheat-based sourdough, gluten-free sourdough requires a carefully selected blend of flours to achieve the desired rise, crumb structure, and taste.
One of the most common and versatile gluten-free flours used in sourdough baking is brown rice flour. This flour provides a neutral flavor and a dense, chewy texture that can mimic the qualities of wheat-based sourdough. Other popular gluten-free flour options include sorghum, teff, millet, and a blend of several gluten-free flours, such as a combination of brown rice, tapioca, and potato starch.
The key to success with gluten-free sourdough bread is finding the right balance of flours that not only provide structure and rise but also contribute to the desired flavor profile. Experimenting with different flour blends and ratios can be a rewarding process, as you discover the unique characteristics that each type of flour brings to the table.
In addition to the primary flour choice, the hydration level of the dough is another crucial factor. Gluten-free flours generally require a higher hydration level compared to wheat-based sourdough, as they lack the gluten network that helps trap and hold onto moisture. Adjusting the water-to-flour ratio can have a significant impact on the final texture and crumb of your gluten-free sourdough bread.
By carefully selecting and combining the right gluten-free flours, and fine-tuning the hydration level, you can create a sourdough loaf that is not only delicious but also closely mimics the qualities of traditional wheat-based sourdough. This attention to detail and experimentation is what sets the stage for your gluten-free sourdough baking success.
Tips for perfecting your gluten-free sourdough bread
Mastering the art of gluten-free sourdough bread takes time, patience, and a keen eye for detail. However, with the right techniques and a bit of practice, you can achieve consistently delicious and well-risen loaves. Here are some valuable tips to help you perfect your gluten-free sourdough baking:
- Develop a strong sourdough starter: Invest the time and effort to create a robust, active sourdough starter. This will be the foundation for your bread and ensure a reliable rise and complex flavor.
- Autolyse the dough: Allowing the gluten-free flour to autolyse, or rest, with the water for 30 minutes to an hour before kneading can help improve the dough’s structure and rise.
- Knead thoroughly: Gluten-free doughs require more intensive kneading to develop the necessary structure. Knead the dough for at least 10-15 minutes to build strength and elasticity.
- Proof with care: Proofing times for gluten-free sourdough can vary, so pay close attention to the dough’s volume and appearance. Overproofing can lead to a dense, collapsed crumb.
- Bake at high heat: Gluten-free sourdough breads often benefit from a hotter oven temperature, around 425-450°F (220-230°C), to help create a crisp crust and well-risen loaf.
- Use a Dutch oven or baking stone: Baking the dough in a preheated Dutch oven or on a hot baking stone can help mimic the steam-rich environment of a professional oven, leading to a better rise and crust.
- Experiment with add-ins: Incorporating ingredients like seeds, nuts, or dried fruit can add delightful flavors and textures to your gluten-free sourdough bread.
- Slice and store properly: Allow the bread to cool completely before slicing, and store it in an airtight container or bread bag to maintain freshness and prevent drying.
By following these tips and continuously refining your techniques, you’ll be well on your way to creating gluten-free sourdough bread that is both visually stunning and deliciously satisfying.
Troubleshooting common issues with gluten-free sourdough bread
Baking gluten-free sourdough bread can be a rewarding but sometimes challenging endeavor. As you embark on your gluten-free sourdough journey, you may encounter a few common issues along the way. Here are some troubleshooting tips to help you overcome these obstacles:
Flat or dense loaf:
• Ensure your sourdough starter is strong and active. A weak starter can lead to poor rise and a dense crumb.
• Check your hydration level. Gluten-free doughs may require a higher water-to-flour ratio for optimal rise.
• Make sure you’re not overproofing the dough. Gluten-free sourdough can proof faster, so keep a close eye on the rising time.
Gummy or undercooked interior:
• Increase the baking temperature and duration to ensure the center of the loaf is fully cooked.
• Consider using a baking stone or Dutch oven to create a better oven spring and crust formation.
• Adjust your flour blend to include more absorbent flours, such as brown rice or sorghum flour.
Cracked or split crust:
• Try scoring the dough before baking to allow for controlled expansion and prevent cracking.
• Ensure the dough is not overproofed, as this can lead to excessive expansion and splitting.
• Adjust the hydration level and kneading technique to create a more supple, pliable dough.
Lack of oven spring:
• Make sure your sourdough starter is at its peak activity before mixing the dough.
• Incorporate a longer autolyse step to help develop the dough’s structure.
• Consider using a steaming method, such as a Dutch oven or a water-filled baking tray, to create a more humid oven environment.
Dry, crumbly texture:
• Increase the hydration level of your dough to keep it moist and pliable.
• Ensure you’re not over-kneading the dough, as this can lead to a dry, tough texture.
• Experiment with different flour blends, as some gluten-free flours may require more water absorption.
Remember, troubleshooting gluten-free sourdough bread is an ongoing process, and each recipe and environment may require slightly different adjustments. Be patient, take notes, and don’t be afraid to experiment until you find the perfect formula for your gluten-free sourdough success.
Gluten-free sourdough bread recipes to try
Now that you’ve mastered the art of creating a gluten-free sourdough starter and understand the key techniques for baking delicious gluten-free sourdough bread, it’s time to put your skills to the test. Here are a few recipes to inspire your gluten-free sourdough baking adventures:
Classic Gluten-Free Sourdough Bread:
• A simple, yet flavorful loaf made with a blend of gluten-free flours, such as brown rice, sorghum, and tapioca.
• Incorporates a long, slow fermentation process to develop the signature sourdough taste.
• Yields a crusty exterior and a soft, airy crumb.
Seeded Gluten-Free Sourdough Loaf:
• Features a variety of nutritious seeds, like chia, flax, and sunflower, for added texture and nutrition.
• The seeds provide a delightful crunch and nutty flavor to complement the tangy sourdough.
• Perfect for sandwiches, toast, or enjoying on its own.
Rosemary and Olive Oil Gluten-Free Sourdough:
• Infuses the dough with the aromatic flavors of fresh rosemary and rich olive oil.
• Creates a savory, herb-infused loaf that pairs beautifully with soups, stews, or as a dipping bread.
• The olive oil helps to keep the crumb moist and tender.
Gluten-Free Sourdough Cinnamon Raisin Swirl Bread:
• Combines the tangy sourdough flavor with the sweetness of plump raisins and the warmth of cinnamon.
• Offers a visually appealing swirl pattern and a delightful texture.
• Perfect for breakfast toast, French toast, or as a snack.
Gluten-Free Sourdough Baguettes:
• Achieves the classic long, slender shape of a traditional baguette, but with a gluten-free twist.
• Crisp crust and a light, airy interior make this a versatile choice for sandwich
Health Disclaimer:
The content provided on this blog is for informational purposes only and is not intended as a substitute for professional medical advice, diagnosis, or treatment.
Always seek the guidance of your physician or another qualified healthcare provider with any questions you may have regarding a medical condition.
We make no representations or warranties regarding the accuracy, completeness, or suitability of the information provided, and we take no responsibility for any actions taken based on the content of this blog.
The use of this blog and this blog article is at your own risk.